No Products in the Cart
- FREE SHIPPING Starting at $60+ on select products. More Details
When it comes to coloring and illustrating, alcohol markers are the go-to tool for many artists. They offer vibrant, lasting color and unique blending capabilities, making them ideal for creating depth, shading, and gradients. But how do you make the most out of these markers, specifically in terms of blending?
Let's dive into the process and make sure to check out MarkerPop's website, where you can find a wide variety of alcohol markers to fit your artistic needs e.g Copic and Touch Markers.
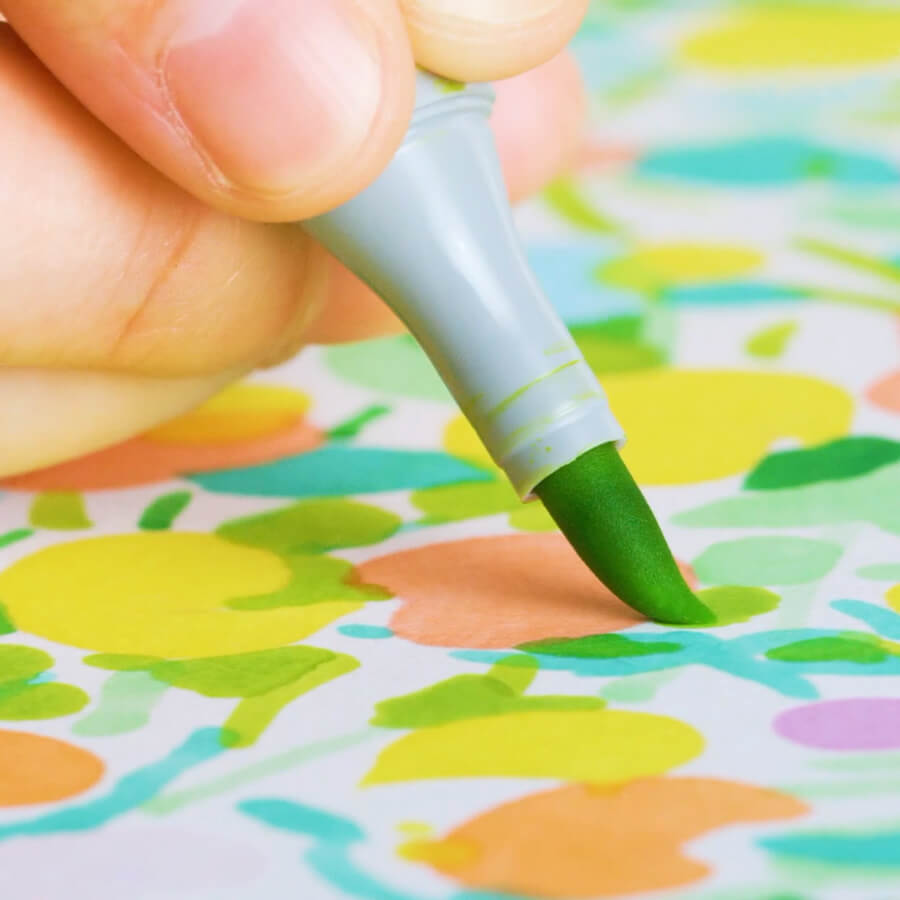
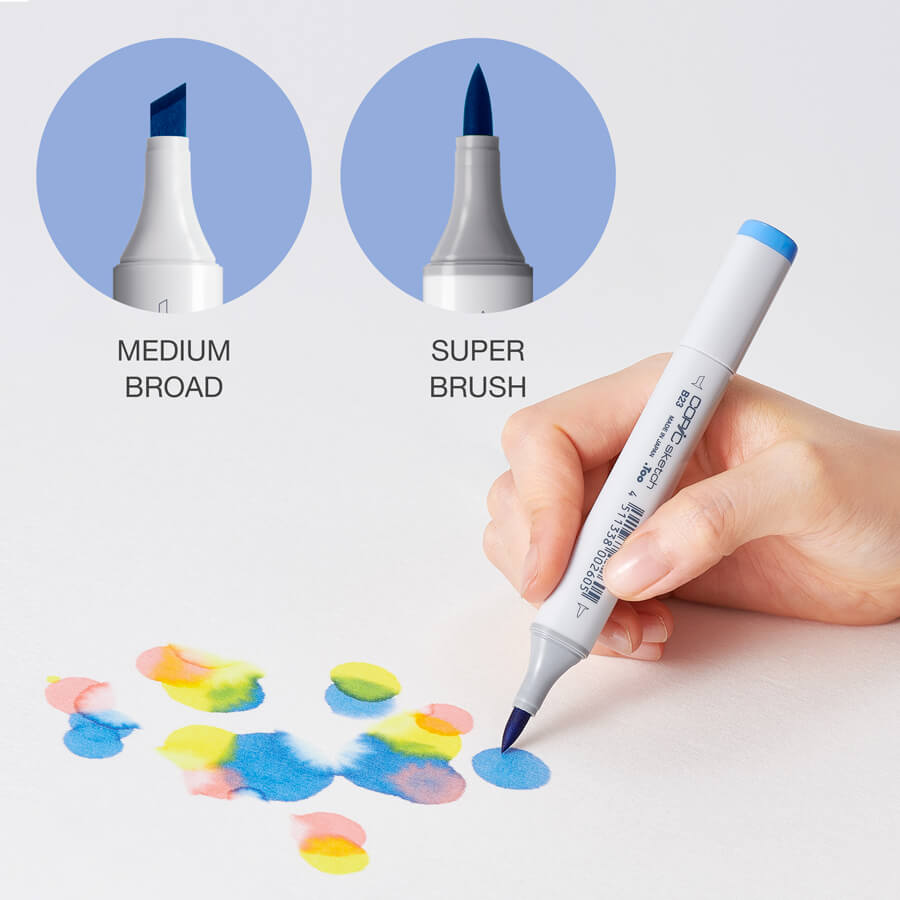
The first step to creating a beautiful blend is choosing the right markers. Alcohol markers come in a variety of types, including both brush and chisel tip. Choose the type that you are most comfortable using, or better yet, experiment with both. You can purchase a variety of markers from MarkerPop's online store, where they carry all your favorite brands and a multitude of shades.
Choose Your Colors: Ideally, choose three shades: a light, a medium, and a dark. These will form the basis of your gradient.
Start with the Lightest Shade: Use your lightest color to lay down the base. Fill in the entire area where you want the blend to occur. Don't worry about saturation at this point; just get a good base down.
Add the Mid-Tone: Apply your mid-tone next, starting where you want the darkest part of your mid-tone to be and stopping about halfway into your light base.
Darken with the Darkest Shade: Next, take your darkest color and apply it to the area you want to be the darkest. This is usually at the edge of your shape or image, or in the areas of deepest shadow.
Reapply the Mid-Tone: Go back to your mid-tone, and while the ink from the darkest shade is still wet, apply the mid-tone again, working it into the darkest color to start the blend.
Finish with the Lightest Shade: Finally, go back to your lightest color. Use it over the entire area again, this time working it into the edge of the mid-tone color. This should create a smooth gradient.
Always start with a test blend on a scrap piece of the same paper you will be using for your project. This will help you see how the colors work together before you start on your final piece. Alcohol markers blend best while the ink is still wet, so working quickly can help you achieve smoother blends.
If you're struggling with a particular blend, MarkerPop offers a variety of blending sets, which are collections of markers that are already perfectly matched for blending.
Alcohol markers can take a bit of practice to use effectively, but once you've mastered them, they can be a powerful tool in your art arsenal. MarkerPop's online store is an excellent resource for all your alcohol marker needs, whether you're just starting out or you're looking to add to your collection. Don't be afraid to experiment, practice, and most importantly, have fun with your art!